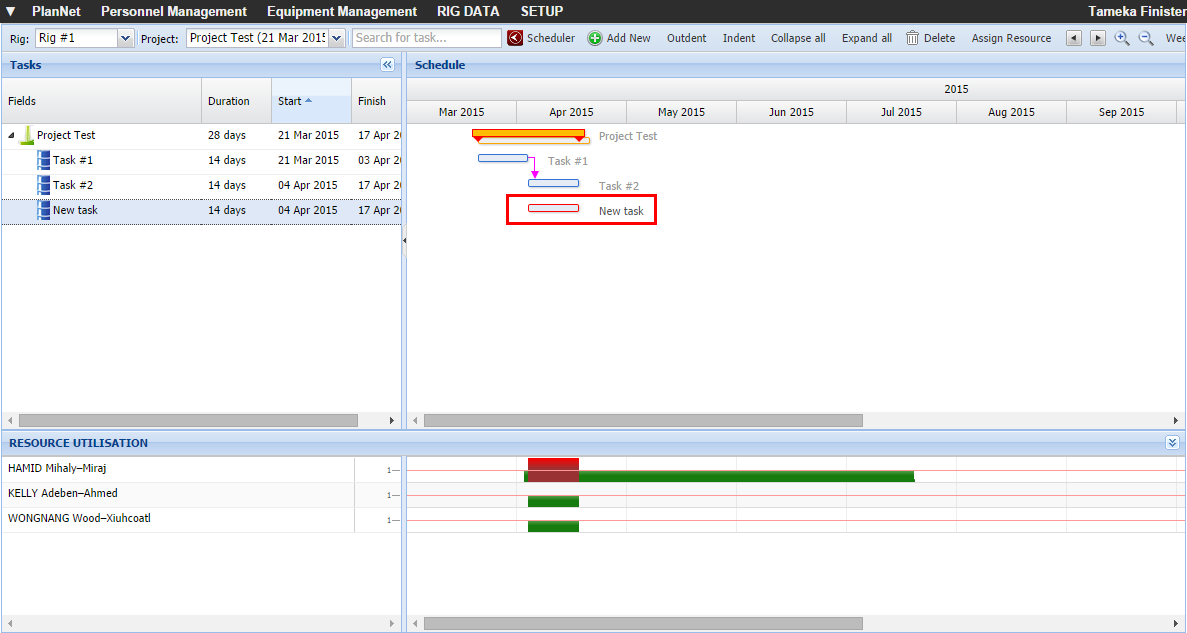
Add task details to a project from the Planner. The task information
screen captures detailed planning information for the project and allows
for the selection of additional details such as task type, notes, etc.
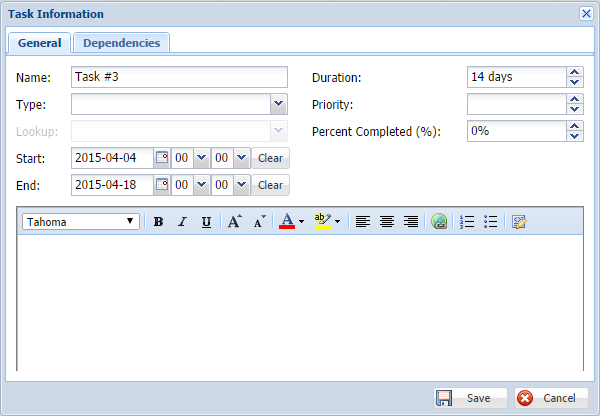
Select the Task
Lookup from the drop-down list. The Task Lookup drop-down list
is based on the previously selected task type.
Verify (or change) the Start
and End date.
View the Duration
in days. The duration is automatically calculated based on the Start
and End Date.
Type the Priority
of the task as it relates to the project.
Type the Percent
Completed (%) for the task.
Type Notes
that relate to the task as it relates to the project.
Notes: Use the formatting options to
add emphasis to the notes and descriptions.
Click the Predecessor
tab.
The predecessors are the dependencies between tasks associated with
the project.
See dependencies
for a detailed explanation of all dependencies relate.
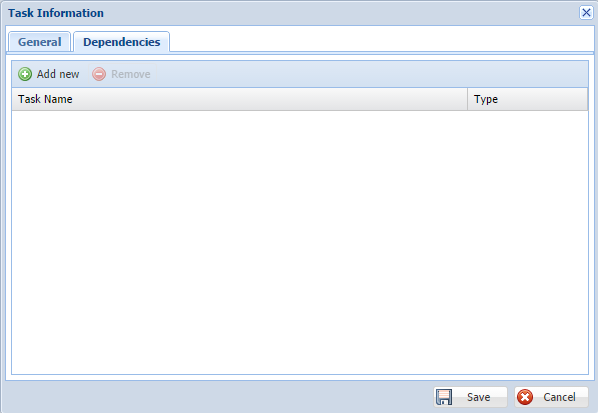
Click  .
.
A new line appears with drop-down list.
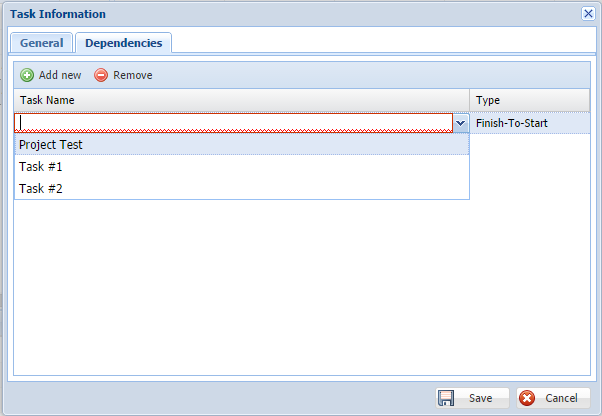
Select the appropriate Task
Name.
Note: Only tasks that are in
the project display excluding the current task you are editing.
Select the Type
of predecessor/dependency.
Click  .
.
The Task Information closes
and Schedule appears with the changes.