![]()
![]()
Create and ship a road equipment manifest.
Steps
Login to StockNet.
Click the Execution
tab.
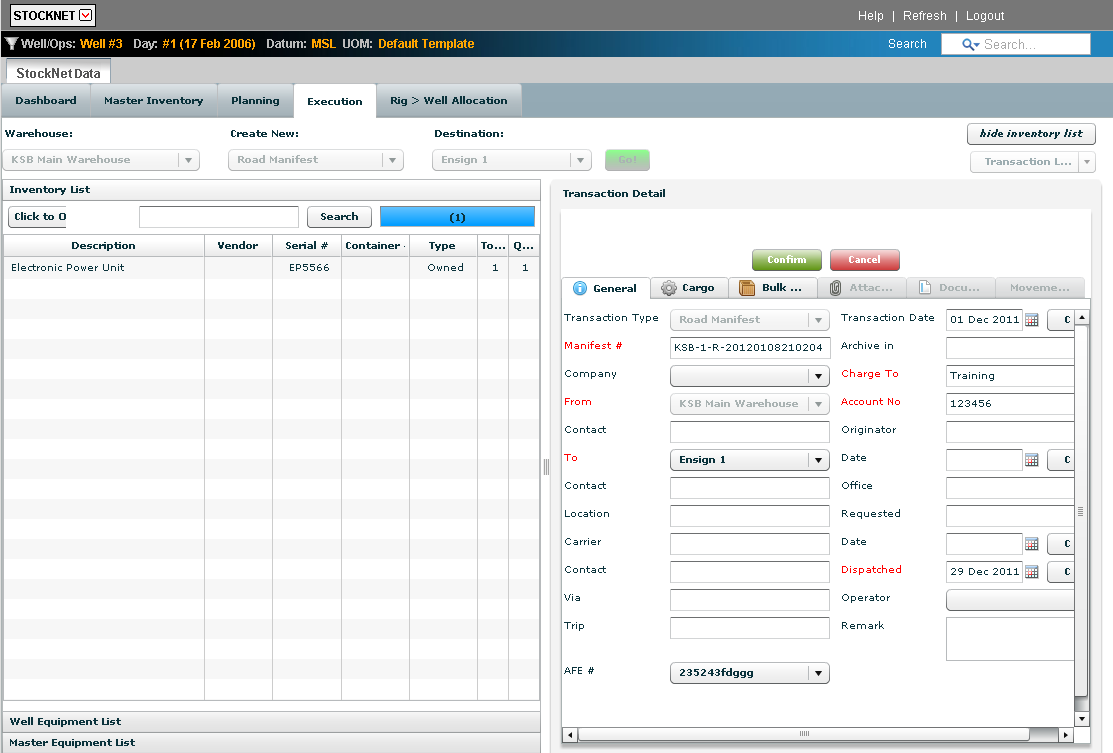
In the Warehouse field, select the warehouse where the equipment shipment originated from the drop-down list.
In the Create New field, select the road manifest from the drop-down list.
In the Destination field, select the destination warehouse for the manifest from the drop-down list.
Click Go!
In the Transaction
Detail - General tab, type all the relevant information.
Note: All RED fields are required.
Select the AFE
number from the drop-down list to track AFE# movement.
Note: The AFE movement can be located in
the Master Inventory Details - Transaction Log
tab.
Click ![]() .
.
In
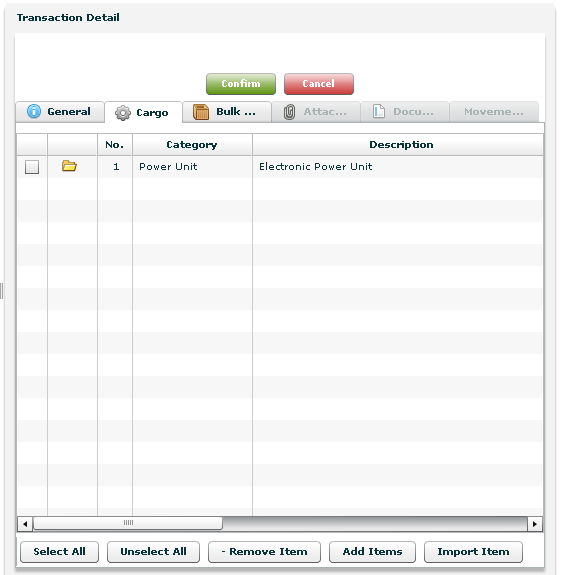
the Transaction Detail - Deck Cargo
tab, drag and drop
all the relevant equipment description from the Inventory section
to the cargo section.
OR
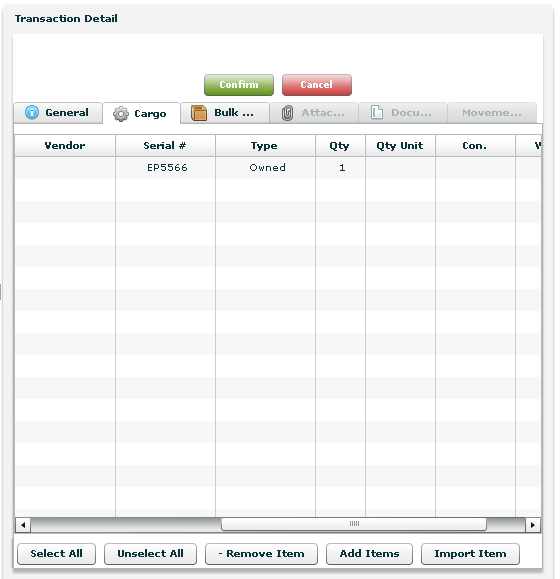
In the Transaction Detail - Bulk Cargo
tab, click ![]() to add bulk stock. .
to add bulk stock. .
Tip: Select multiple equipment items by using the CTRL
key and selecting. Remove unnecessary items by selecting the item
and clicking Remove Item.
Tip: The following nine fields should be accurate from
the dragging and dropping the equipment. However, make adjustments
as necessary.
OR
Import Manifest Properties.
Type the relevant Serial Number in the field.
Select the Description in the field.
Select the relevant Vendor in the field.
Select the Type in the field.
Type the Quantity in the field.
Select the Quantity Unit in the field.
Select the Condition in the field.
Type the Weight in the field.
Type the relevant Comment
in the field.
Click Add Items
to add items to the manifest that are not in the inventory.
Note: Use this feature for items that must
be displayed in the manifest but are not required to be tracked in
StockNet.
Type all the relevant information
for the added item.
Note: Repeat until all of the additional
items are added.
Click ![]() .
.
In the Transaction
Detail - Attachment tab, attach any relevant information.
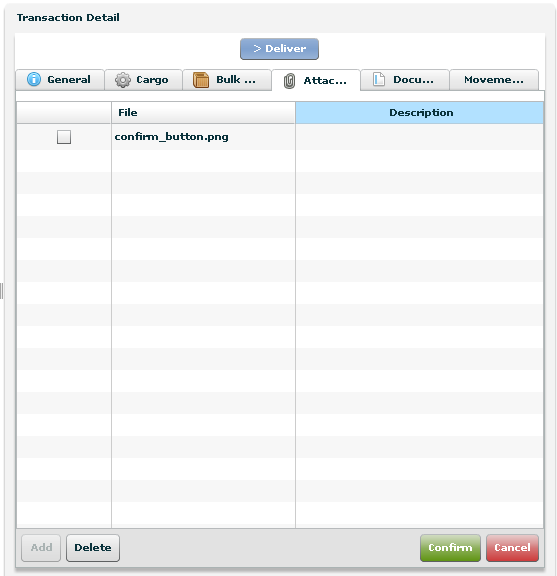
Click ![]() .
.
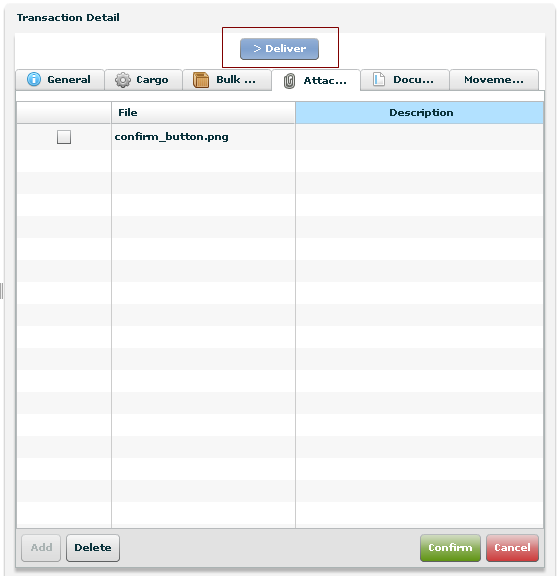
The Manifest is saved and the Ship Now button
appears at the top of the Transaction Details
section.
Click ![]() .
.
The item is now shipped.
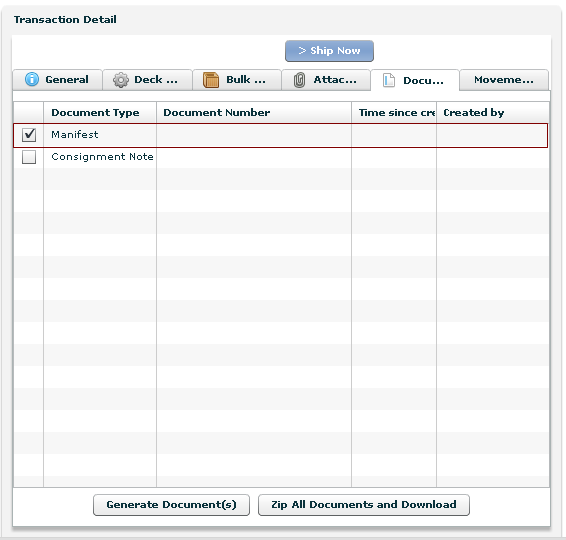
In the Transaction Detail - Documents tab, enable the selection checkbox for the Manifest.
Click Generate
Documents.
The manifest is generated.